
The pictures below are intended to serve as reminders to students between practices who have already done the warm-ups in class. Most warm-ups are represented by one picture.
When practicing at home, please do not overextend. Skip any warm-ups that you are unsure of. Skip any that cause discomfort or pain. Bring any questions about the warm-ups to your regular Taiji class.
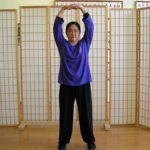
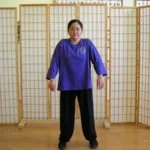
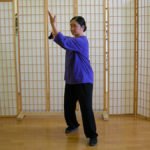
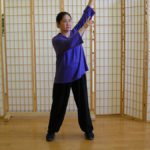
Stretch Up
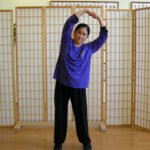
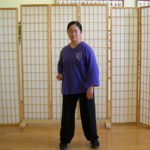
Stretch 3x Side to Side

Stretch 3x Left & Right
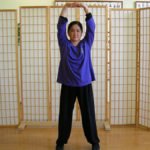
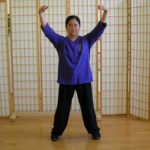
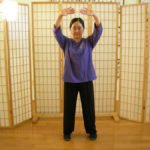
Stretch Up & Forward 1

Stretch Up & Forward 2
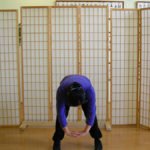
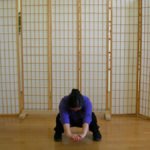
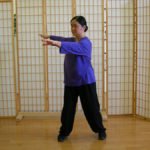
Upper Body Parallel to Floor
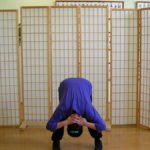
Stretch Lower Back & Neck 1
Stretch Lower Back & Neck 2
Shoulder Rotation Backward 8x & Forward 8x

Shoulder-Elbow-Fist Forward 8x Alternating Sides
Elbow Strike Back 8x Alternating Sides
Waist Circle 8x Right & 8x Left

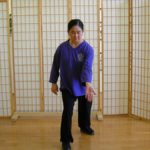
Squat

Stretch to Right Side, Then to Left Side

Lower Squat
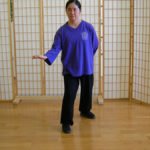
Slap Down Circle 8x, Both Sides

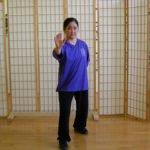
Slap Down & Upper Strike 8x, Both Sides
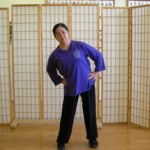
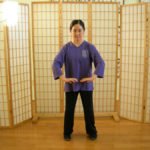
One Hand Push, Both Sides

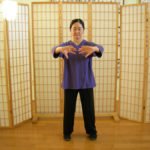
Double Hand Press 8x, Both Sides
Scoop & Strike Down 8x, Both Sides
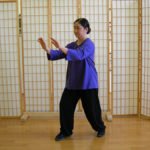
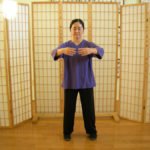
Block Sink Press 1
Block Sink Press 2, 8x Both Sides
Slap Down & Double Push, 8x Both Sides

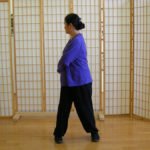
Kick with Heel, 8x Both Sides
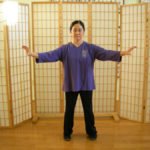
Slap Knees & Open Upward 8x
Big Wheel Circle 1
Big Wheel Circle 2, 8x Both Directions
Washing Machine, Both Directions, 16x Total

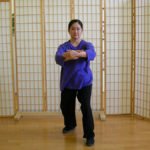
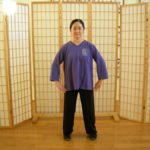
Standing Meditation Opening
1 - Heart Posture

Heart-Liver Transition
2 - Liver Posture
3 - Spleen Posture
Spleen-Kidney Transition 1

Spleen-Kidney Transition 2

Spleen-Kidney Transition 3

4 - Kidney Posture

Kidney-Lung Transition
5 - Lung Posture
Closing Transition

Closing